


Here is my first guest blogger while I am away, enjoying the sunshine and relaxation (yay!)...readers, please meet Kate! She's fabulous!
In our Sea of Love
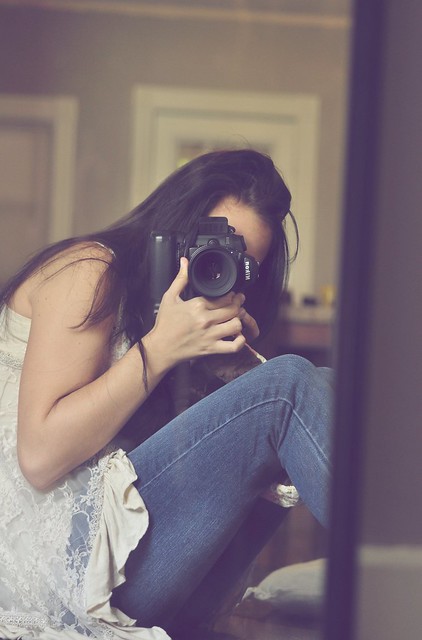
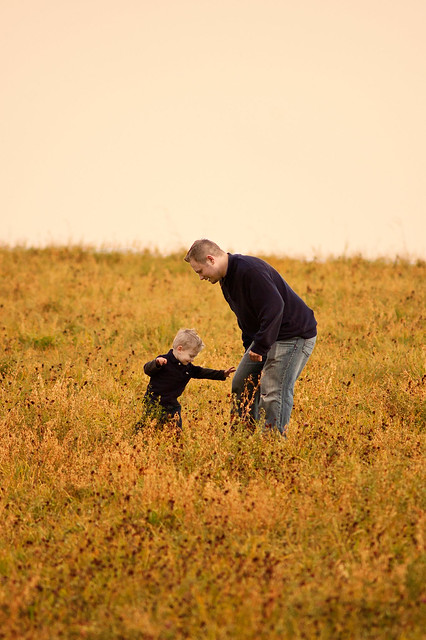
I am a 24 year old mother and wife. My husband and i got married on May 14, 2010. Together we created one beautiful little boy named Anthony. I can't imagine my life without either of them! God blessed me with these two boys for a reason and i couldn't be more happy about who he brought into my life. One of my passions in life is photography. Ever since i can remember i've always had a creative eye. So of course my blog posts are usually loaded with tons of photos! My goal is to own my own photography business specializing in maternity, newborn and wedding photography. I also have a new found talent, crocheting. I've been doing it about a year now! I've already grown an incredible amount in that short amount of time. I have my own little shop on etsy, If you'd like to check it out! Eventually, i'd really like to get into teaching crochet on my blog and releasing patterns for those who enjoy it as well! My blog represents happiness, creativity, passion, love, family, motherhood and the
married life.
My blog
My shop
Today i've decided to share a DIY butterfly pattern.
It's simple, fun and it doesn't take long to make!
How to crochet a butterfly
The size of this butterfly will depend on the
size hook you are using.
I used a G hook
If you'd like a smaller butterfly
just use a smaller hook size. The smaller the
hook. The smaller the butterfly.
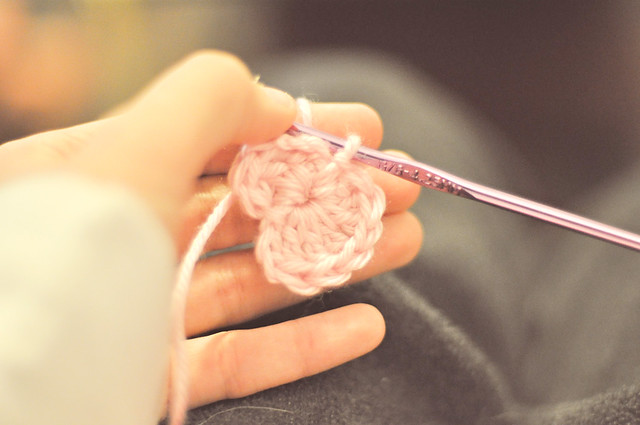
1. Chain four; sl st into chain one to form a ring.

2. Chain four; 3 tr (triple crochet) into the ring.

3. Chain three; 3 tr (triple crochet) into the ring.
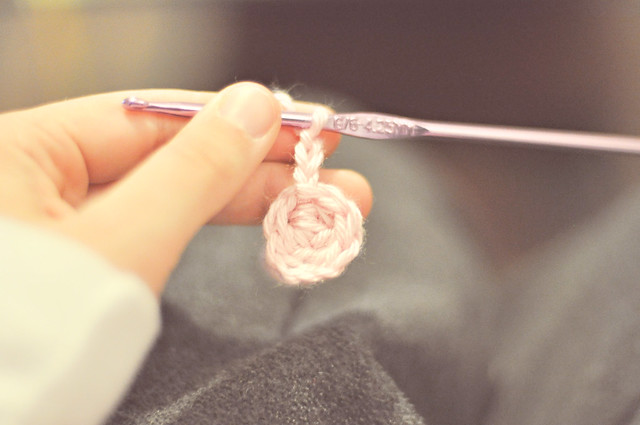
4. Sl st into the ring.
5. 3 dc (double crochet) into the ring.
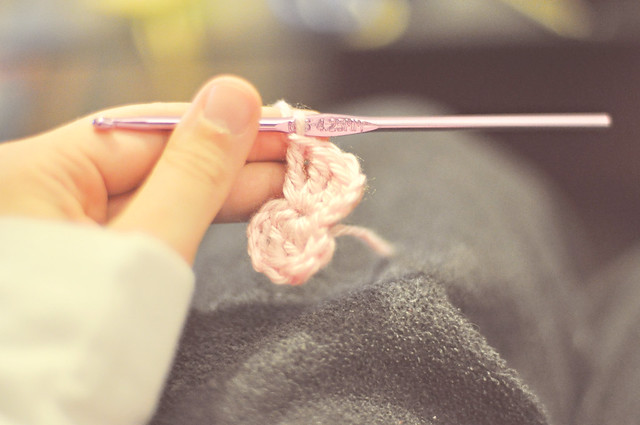
6. chain three; then turn. Now you'll be doing the other wing.
7. 3 tr (triple crochet) into the second chain from your hook.
8. chain 3; 3 tr (triple crochet) into the same spot.
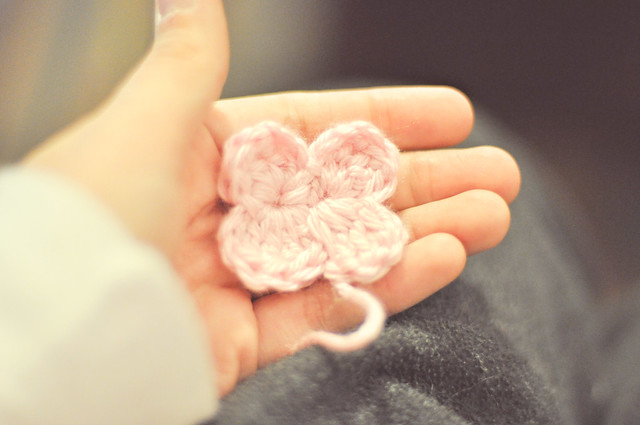
sl st then fasten off.
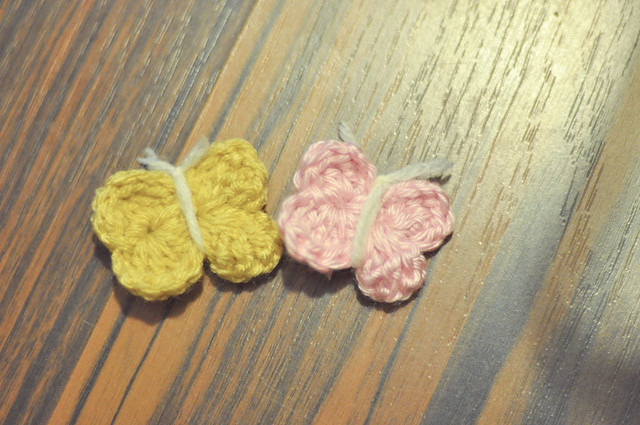
To create the body of the butterfly and the antennae
Just cut the yarn according to the size of the butterfly. wrap the piece of
yarn around the middle of the butterfly twice. Tie ends in a knot. Then trim the antennae to your
liking! Ta da! Done. Super easy! It'll only take about 5-10 minutes or less! It only took me 3 mintues tops.
You can put this cute little butterfly on headbands, key chains, clips clothes.
Just about anything you'd like!
Thank you so much for sharing this cute DIY project, Kate. They are adorable!


3 comments:
These are A-dorable Kate! Love butterflies.
Oh I use to crochet, i need to pick it up again,thanks for the inspiration!
Cute! I wish I had the patience to crochet ;) Kyna, I hope you're enjoying the sun and fun!
Post a Comment